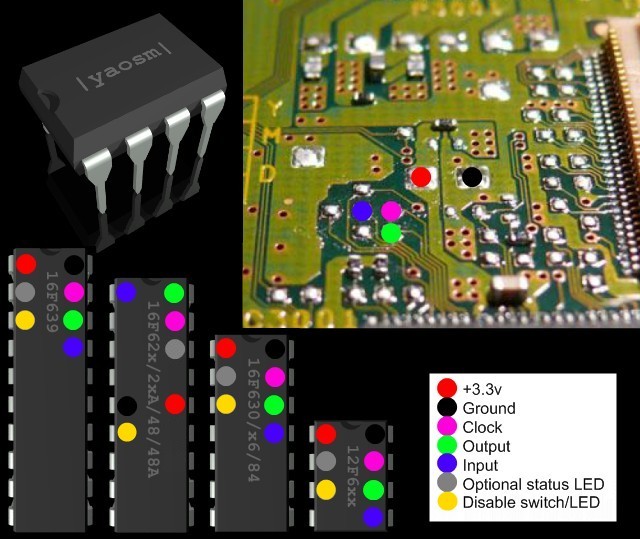
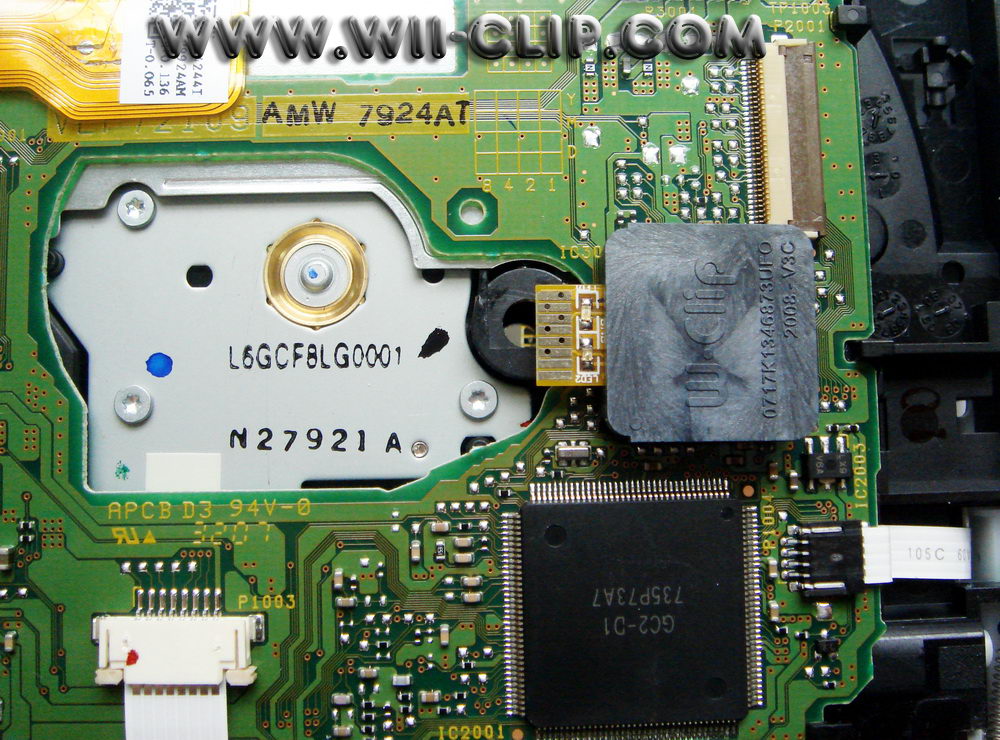
WII-CLIP for WIIKEY,D2CKEY,D2CPRO,ARGON,D2PRO ......
FREE-CLIP ---> This kit build in the 12F683 chip, and use YAOSM 5
Pins method, you can download the free chip core like
OpenWii / WiiFree / YAOSM / Wiinja to make your own PLUG and PLAY
upgradeable Wii chip in few minutes!
Important update... new hex files will be released soon. It seems like the
regionbyte in the eeprom can sometimes be reset to 0x00 (JAP). I'm not sure
why it happens but I've made changes should prevent it from happening. I've
seen it happen on two different Wii's. One here in the forums and one of my
friends experienced the same thing. Both Wii's are DMS, not sure if that
matters. It is either the disaster recovery function that causes this to
happen or the automatic region detection. Actually it shouldn't happen at
all, but I've seen the proofs so I know it does. It should propably not
affect JAP users since they use 0x00 as regionbyte anyway.
No DVD upgrade for this. It's the PIC code, not the drivecode. Only the
drivecode can be changed with DVD-upgrades.
For the most common chips there are hexfiles in this thread:
http://wiinewz.com/forums/yaosm/6726...3-0-issue.html
Quickstart
1. Reprogram chip with new hex.
2. Use an non-import disc first after programming to autoconfigure the chip
for your region.
3. Use the config disc to customize your settings (no GC controller
required, try the resetbutton and you'll figure it out).
Changes from yaosm 2.0
- Better Dual Layer support. Supports SSBB on DVD+DL and DVD-DL with or
without DVD-ROM booktype as long as your Wii can read the media.
- DVD upgradability. Proof of concept upgrade available on config disc.
- Config disc can now be used without a GC controller. Press resetbutton
once to enter yaosm configuration program. Then hold to move the "cursor"
and press quickly to change a setting.
- Recovery feature if an upgrade fails.
Configuration bytes (for those who don't want to use the config disc)
Code:
Code:
     Configuration
-------------
This is an explanation of the configuration bytes:

byte 0 = Regionpatching
0x00 = JAP, 0x01 = USA, 0x02 = EUR, 0x03 = disabled, 0xFF = auto (default)

byte 1 = Default speed setting (only affects Wii backups)
0x00 = slow speed   (Gamecube speed)
0x01 = medium speed (Somewhere in between)
0xFF = fast speed   (Wii speed) (default)

byte 2 = Alternate speed setting (only affects Wii backups)
0x00 = slow speed   (Gamecube speed)
0x01 = medium speed (Somewhere in between)
0xFF = fast speed   (Wii speed) (default)

byte 3 = Chip disable feature (you may want to disable this if you have a LED connected to pin3)
0x00 = Disable the chip disable feature (no weak pull-up on pin3)
0xFF = Enable the chip disable feature (this is the default)

byte 4 = Not used (autoboot if chip is upgraded with config disc)

byte 5 = Audiofix on/off
0x00 = Disable the Gamecube audiofix (always off)
0x01 = Disable audiofix by default (when powering up the Wii) and enable it by inserting a Wii disc before running your GC backup.
0x02 = Enable audiofix by default (when powering up the Wii) and disable it by inserting a Wii disc before running your GC backup.
0xFF = Enable the Gamecube audiofix (always on)(default)

byte 6 = reserved and used by recovery procedure in case of a bad upgrade. Do NOT change this manually.

byte 7 = Always 0xFF, do not change.

byte 8 and higher = reserved for upgrade patch data
About the proof-of-concept upgrade
The config disc contains a proof-of-concept upgrade. This upgrade adds
autoboot feature for Wii backups. This feature can be turned on or off (off
is the default) with the config disc. Keep in mind that the autoboot isn't
an official yaosm feature because it has a couple of issues:
- Doesn't work on originals.
- Doesn't work on GC.
- Wii normally hangs if you use the home button and chooses to exit to "Wii
menu".
- Doesn't work with SSBB backups.
It exists only to show that the DVD upgrade works and that's all.
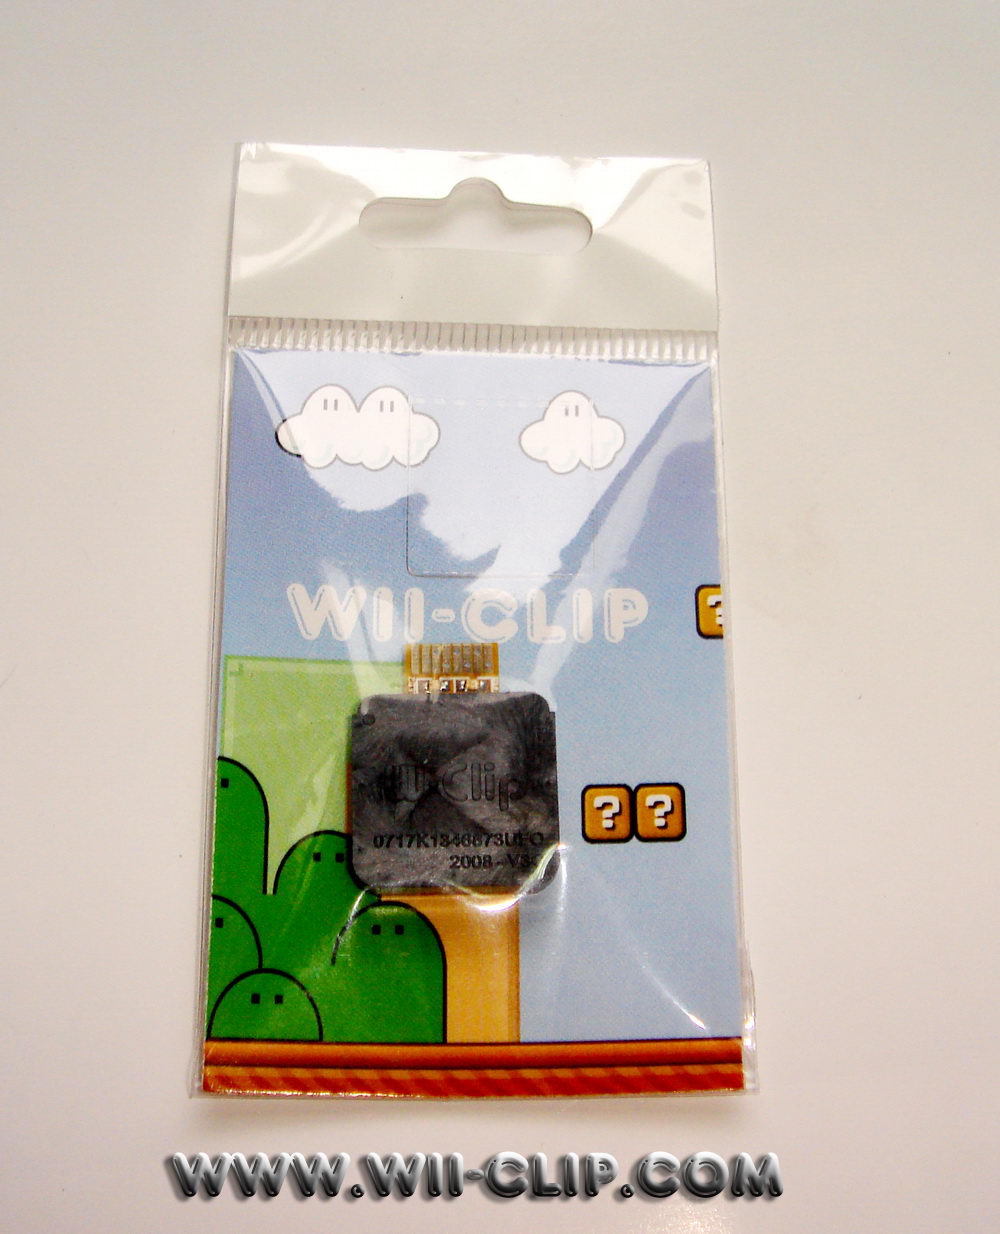
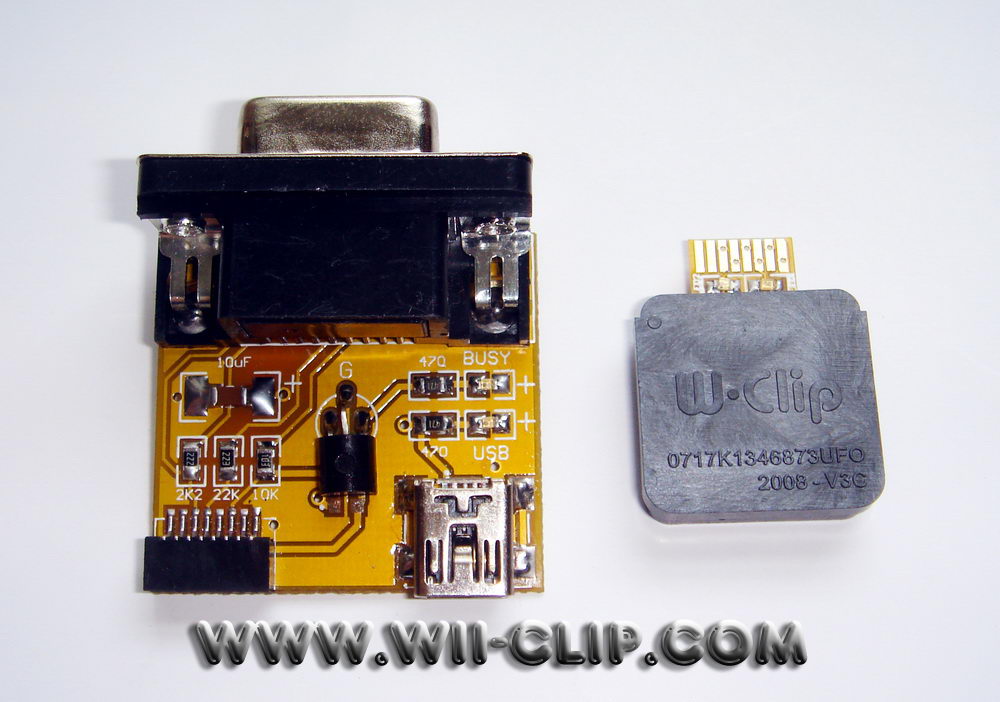
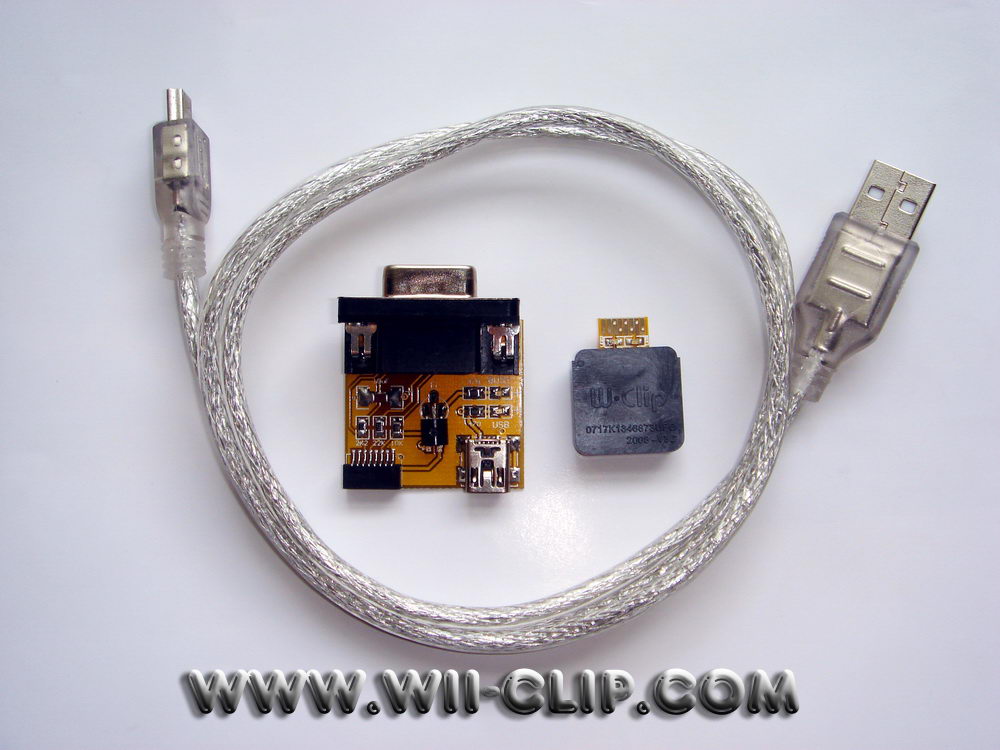
Free-Clip Looking
How to install: Plug and Play!
The packing:
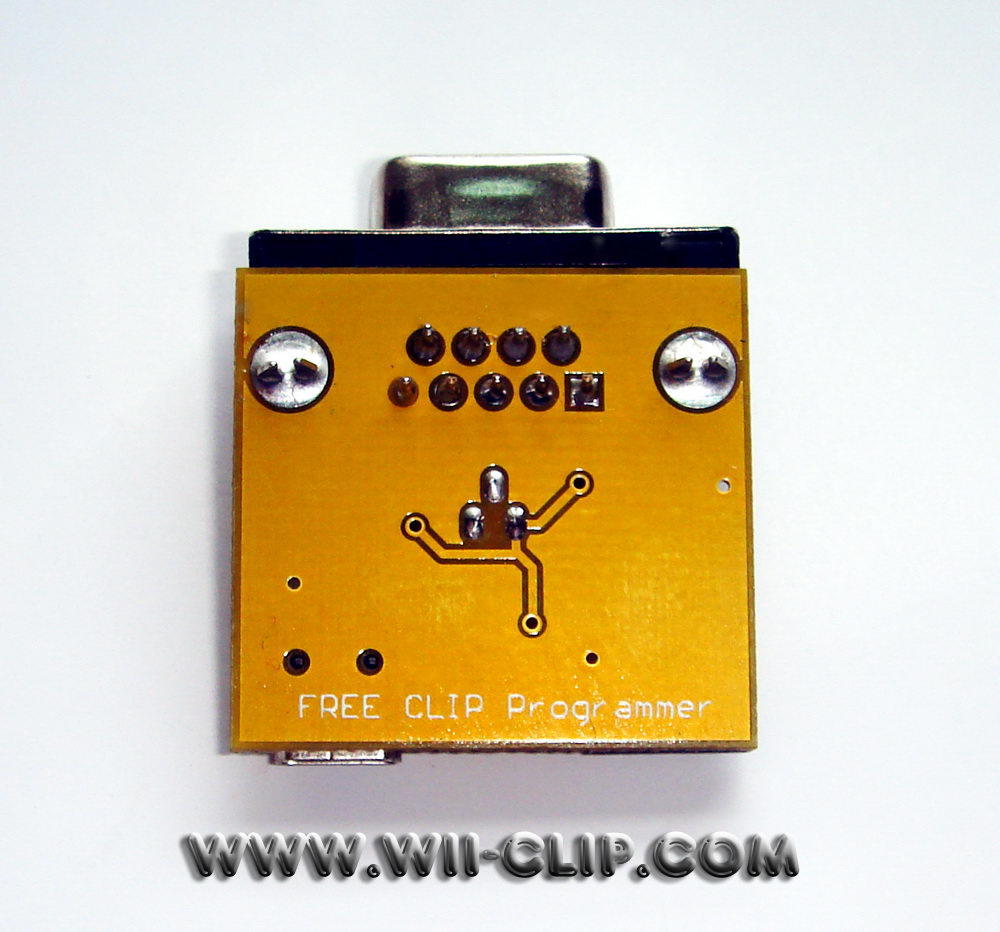
The FREE-Programmer circuit , it's in stock now :
The FREE-CLIP Programmer looking
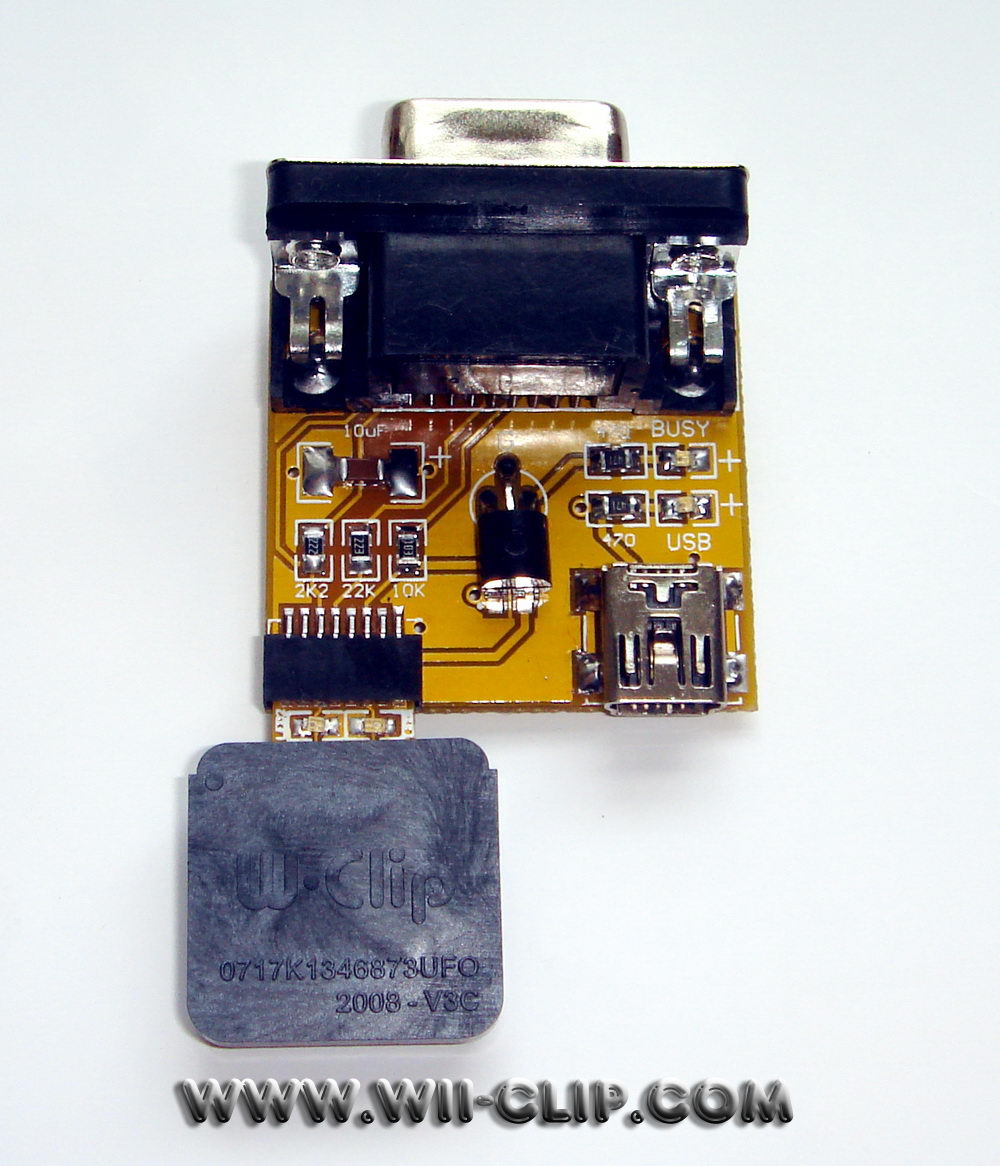
Just need plug the FREE-CLIP to the programmer socket, then can start to burn
the inner 12F683 chip
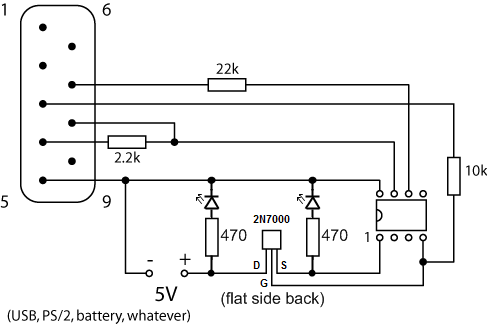
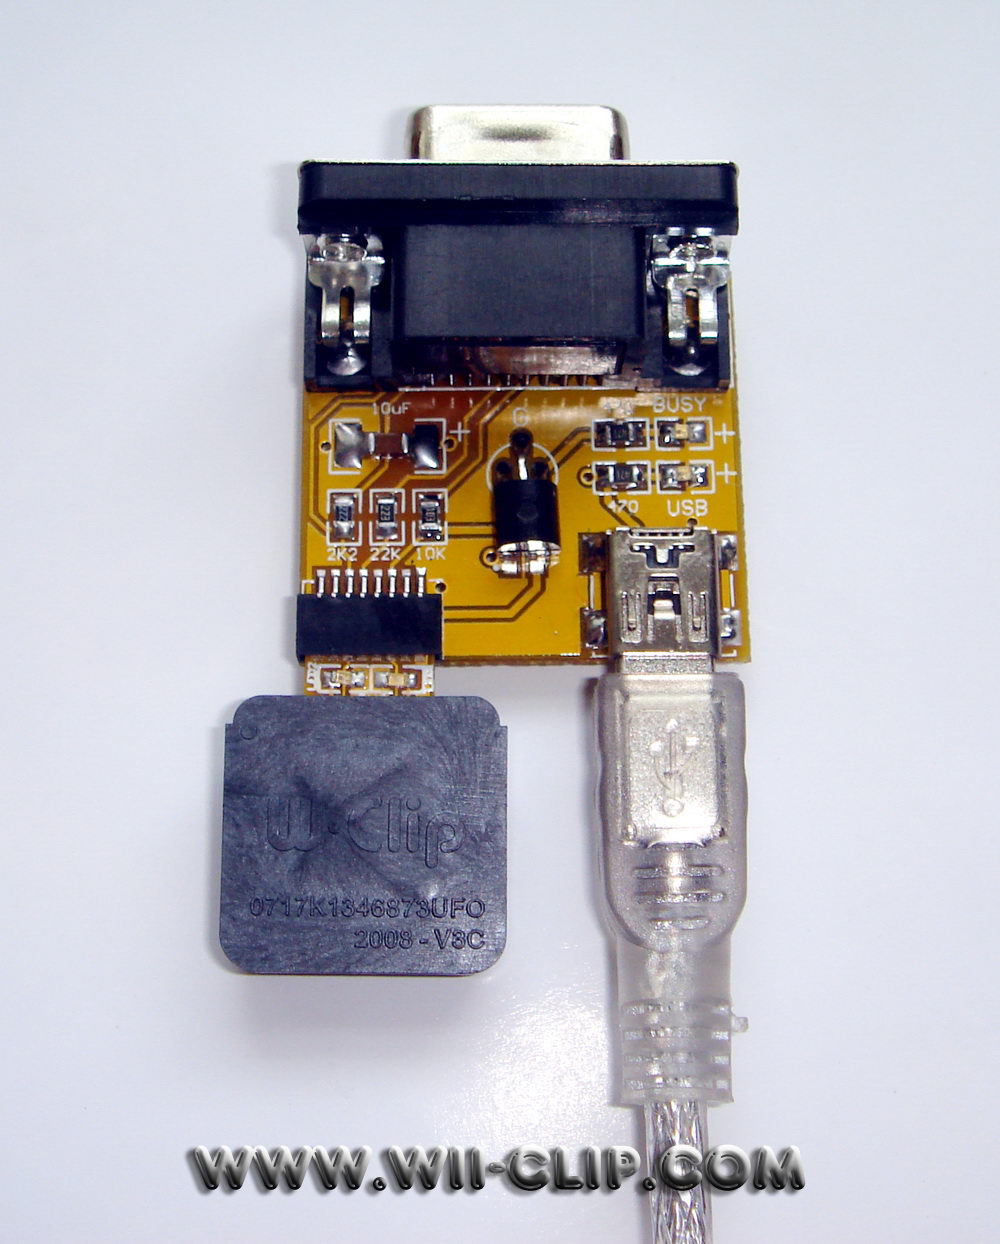
For many new PC and notebook, you have to use the Mini-USB cable to offer more
stable power to it.