How to install the WII-CLIP
How to install the WII-CLIP to your Wii? Follow me step by step:
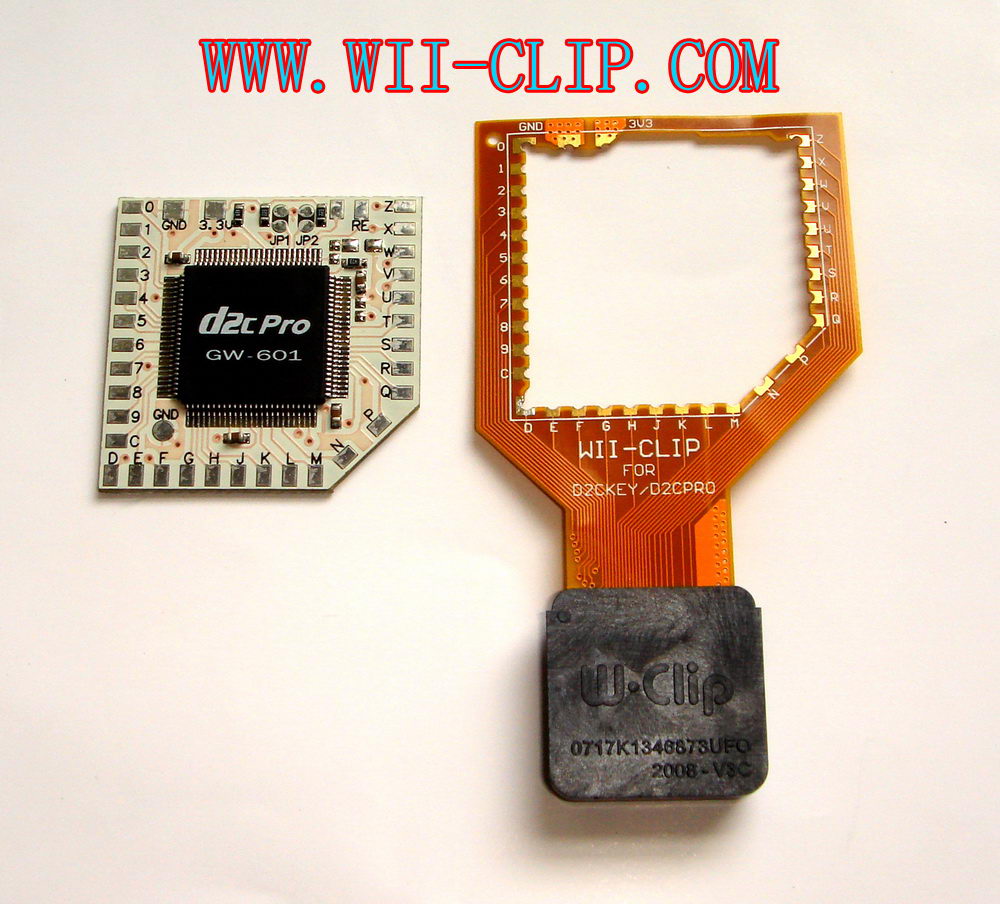
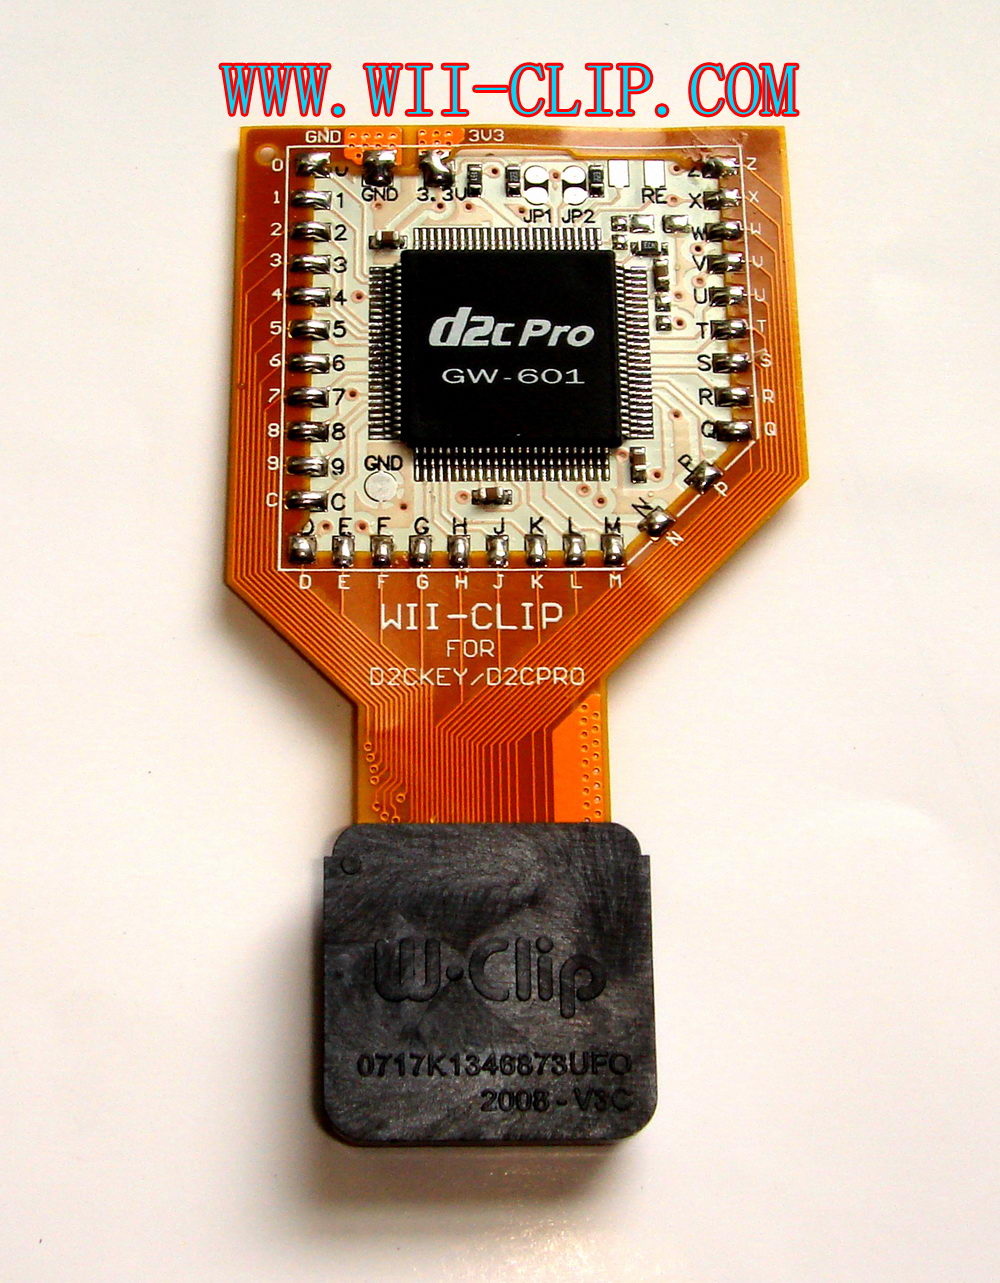
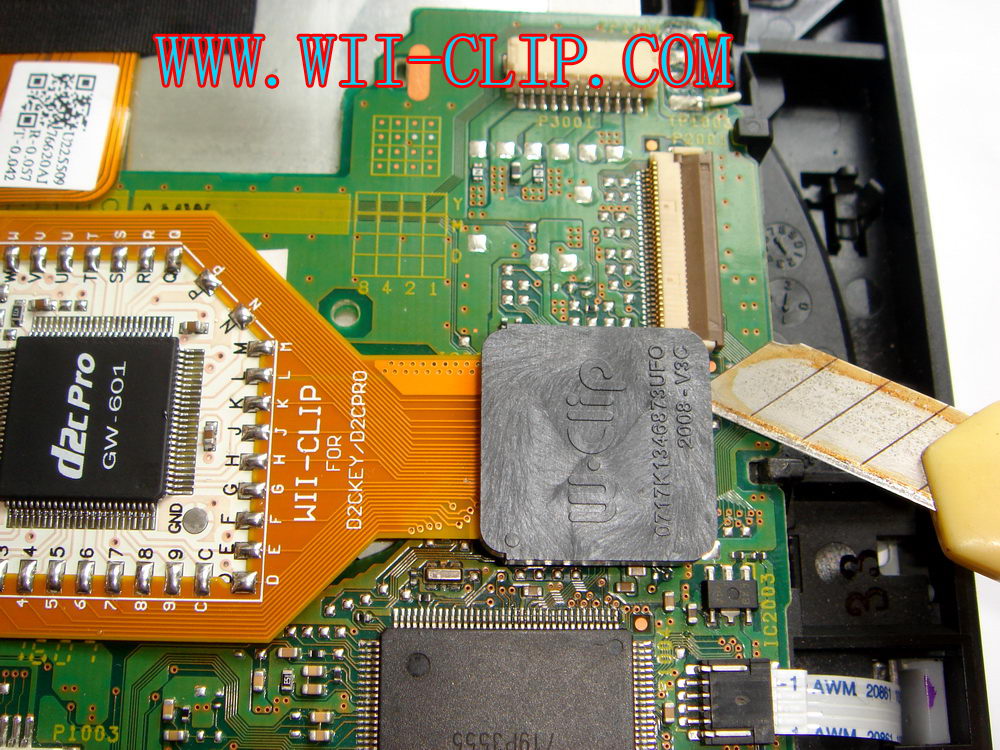
<a.> Step 1, line the WII-CLIP onto the corresponding MOD chip board, and solder all pins.
<b.> Step 2, the backside of chip board, you can see there are some test points on the PCB, now you have to protect them avoid the short circuit.

Please use the "protect label" to cover these test points, for the open-short protection.
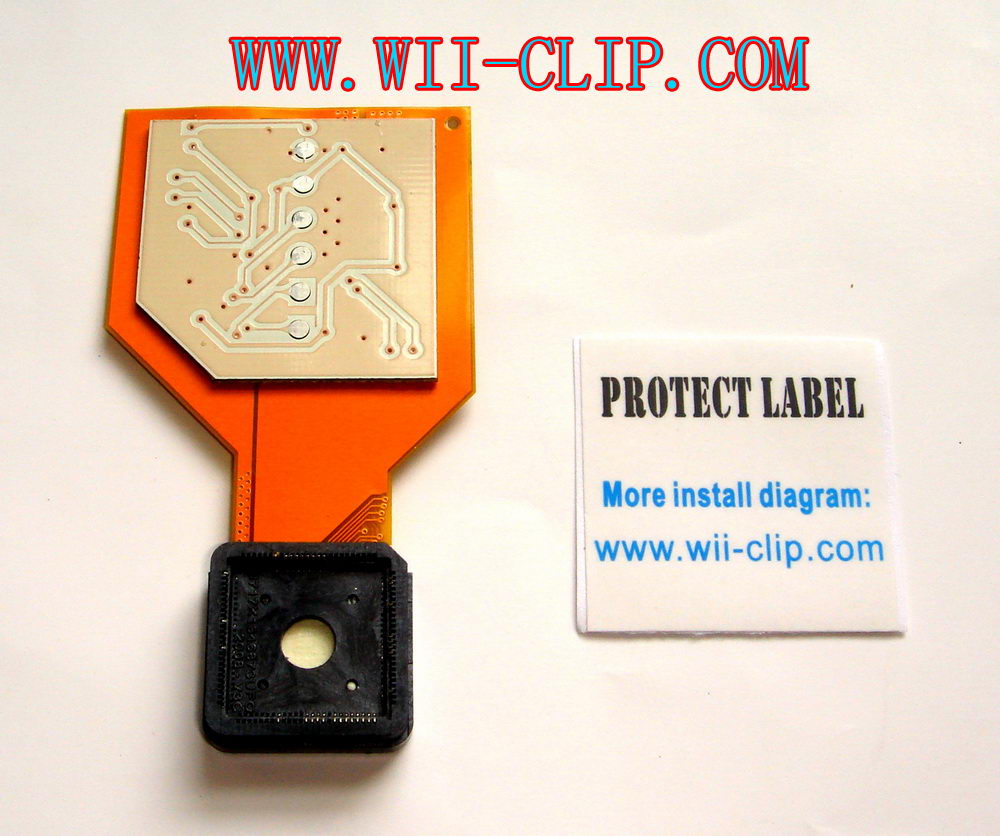
Done.

<c.> Step 3, now the WII-CLIP is ready to "plug" to your Wii console. It's not need the extra wires for VCC or GND , 100% ZERO wires need!

OK, plug your WII-CLIP onto the D2C chipset, and press it down until you can feel it have clip the D2C chipset very well, maybe you can hear one very slight "click" sound too, and please check your PCB side view to make sure the WII-CLIP plastic case is almost reach PCB already, then mean it's install complete and connect well. This is the most important step!
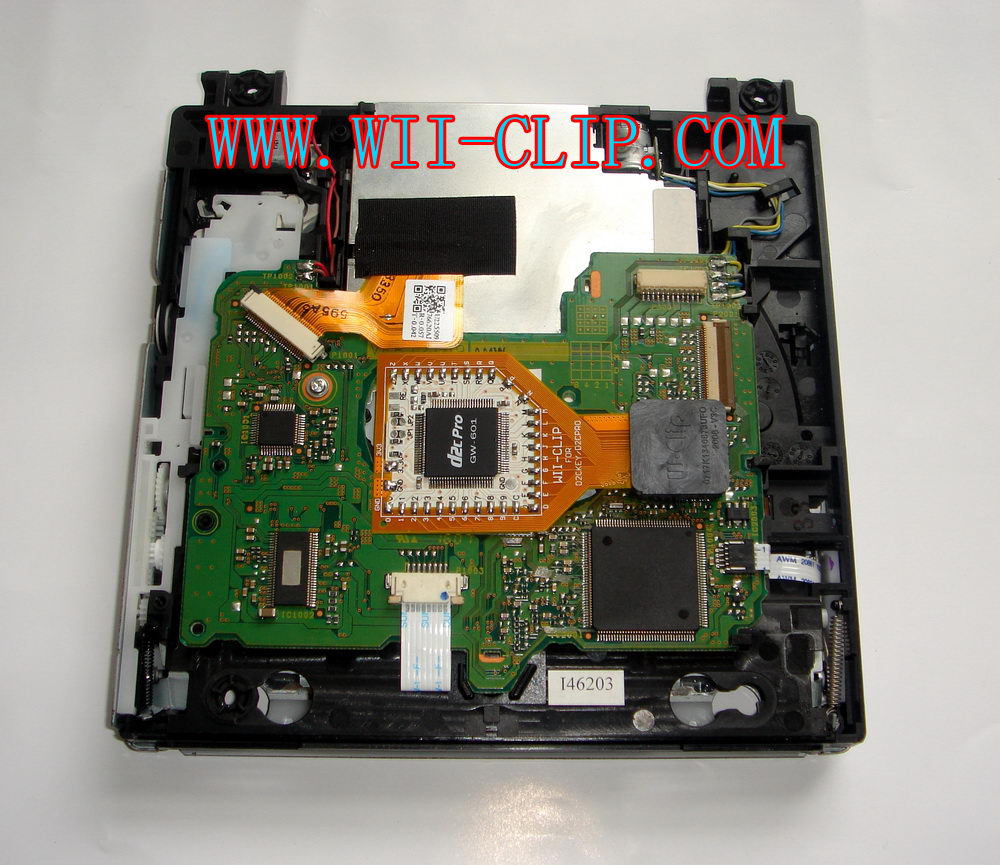
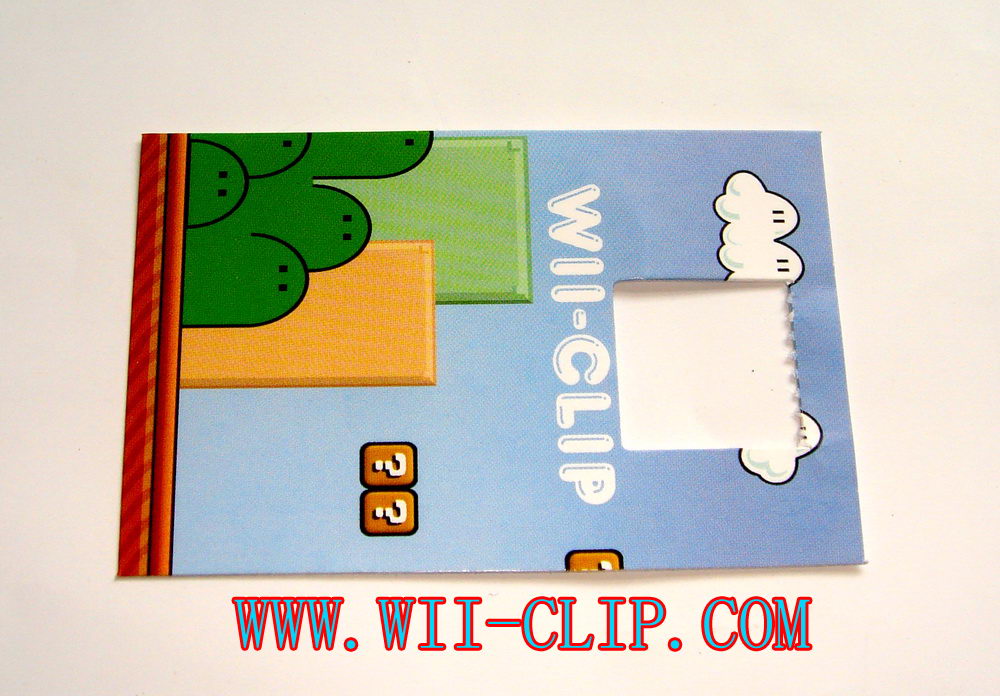
<d.> Step4, it's the last step already, very easy, right? You can see the color paper is not for packing only, it's for MOD chip open-short protection too, protect the WII-CLIP solder points not touch the Wii metal case and cause short circuit.

Rive off the small slip.
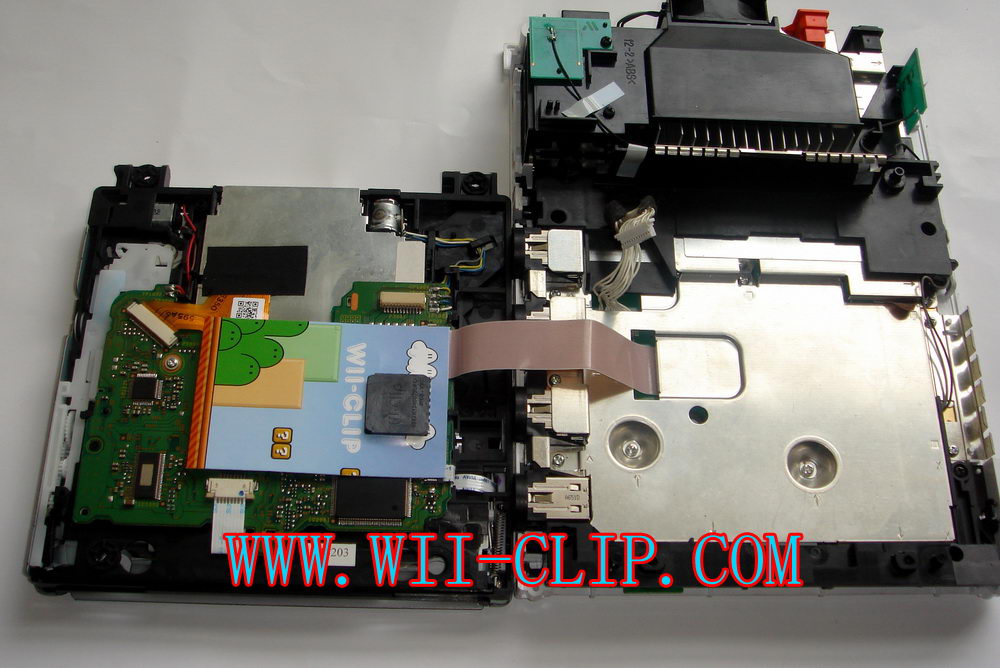
Then install the FPC to Wii DVD board.

Remember to make sure the FPC is install well.

Then the last action is put this color paper onto the WII-CLIP through the hole.

<e.> Finally, what are you waiting for? Just assemble your Wii back and test your great DIY job!
Notice: If you want to pull out the WII-CLIP from your Wii mother board, you CAN'T pull it out by your hand directly, you MUST use some very sharp tool like the small knife , to prize the WII-CLIP case leave the D2C chipset, and remember you CAN'T prize one corner only, you MUST prize all 4 corners to make it leave the big D2C chipset smooth! Otherwise the pins of WII-CLIP will be damage very easy.

investing Counter